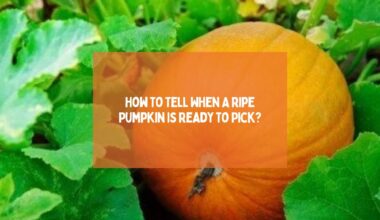
Sowing pumpkin seeds in your garden, either for making pies, cooking, or for Halloween and ornamental displays, is an outstanding venture. Gourds are not only scrumptious but also easy to sustain. As a reward, you not only get appetizing pumpkins but also gain proficiency in gardening.
Gardening is a skill that seems challenging to those who are just starting in this field, but eventually they grow to love it. This is a talent that many want to acquire, but it requires time and effort for many to work out. As appealing as it may appear to grow many plants at once, gardening does not function like that. It’s a cycle of gradual and constant learning in which you master this aptitude.
In this article, we are going to dive into the skill of growing tasty yet incredible orange gourds. how to sow and grow them to be a part of your garden.
Let’s jump right in.
10 Ways To Cultivate Home-Grown Orange Gourds In Your Garden
Before sowing pumpkins indoors, you first need to consider which type of gourd is best according to your desires. If you sow seeds without much concern, chances are your plant will not receive the kind of care and attention it needs, and ultimately, it will die.
The ways are described below;
1. Choosing The Right Variety
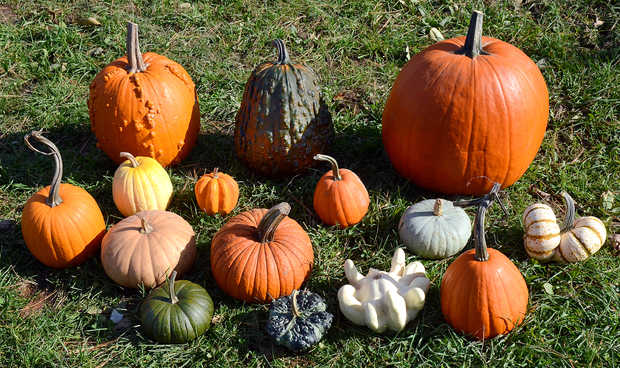
For sowing pumpkin seeds, there are many different varieties of pumpkins available, each with its unique characteristics and uses.
Here are some of the varieties of pumpkins you can grow in your garden:
- Pie pumpkins
They are perfect for making pies, custards, and other baked goods. These pumpkins are smaller and sweeter, with a finer texture.
- White pumpkins
These pumpkins have white or pale yellow skin and a sweet, mild flavor. They are often used for decorative purposes as they provide a striking contrast to traditional orange pumpkins.
- Miniature pumpkins
These are small, decorative pumpkins that are perfect for table centerpieces, fall decorations, or for kids to carry.
- Blue Jarrahdale Pumpkins
These pumpkins have a unique blue-gray color and a flattened shape. They are native to Australia and have a sweet, nutty flavor. They are favored for making pies.
When choosing a pumpkin variety, consider what you will be using it for and the growing conditions in your area. Some pumpkins may be better suited to specific climates or soil types, while others may be more disease-resistant or easier to grow.
Related Reading
2. Choose The Right Time and Location
The right time for planting pumpkin seeds depends on the climate and growing conditions in your area. In general, pumpkin seeds should be planted when the soil has warmed up and all danger of frost has passed. Wait until the soil temperature is at least 60 °F (15 °C) before sowing pumpkin seeds. But the exact timing can vary depending on your location.
The right location for planting pumpkin seeds is an area that receives plenty of sunlight, has well-draining oil and provides enough space for the vines to spread out. By selecting a suitable location, your plant is sure to thrive.
3. Prepare The Soil
Pumpkins grow best in soil that is rich, well-drained, and slightly acidic, with a pH between 6.0 and 6.8. Clear the planting area of weeds, rocks, and other debris.
Amend the soil by adding compost or other organic matter, such as aged manure, to increase fertility and improve soil texture. Work the soil to a depth of at least 12 inches.
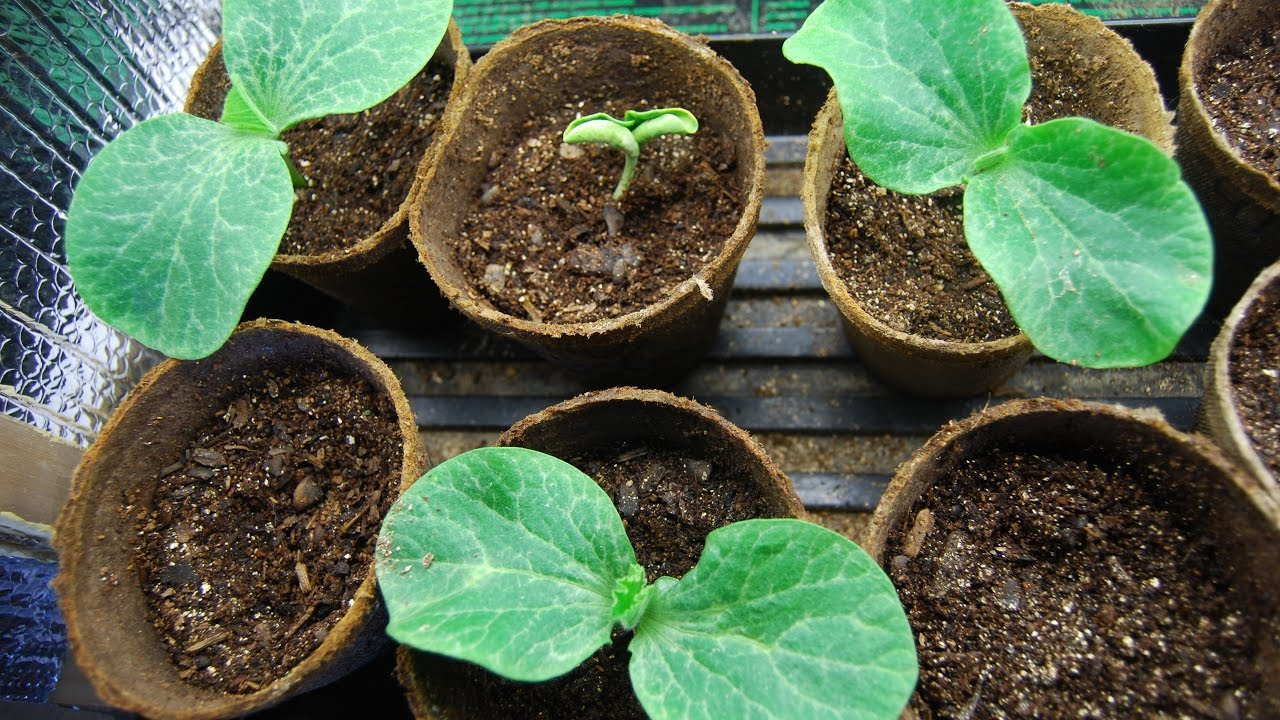
4. Plant The Seeds and Water Them Regularly
Make small holes in the soil about 1 inch deep and 3–4 feet apart. Place 2–3 pumpkin seeds in each hole and cover them with soil.
Preparing Pumpkin seeds for sowing requires consistent moisture to germinate, so water them immediately after planting and keep the soil moist but not waterlogged. Preferably, water them early in the morning. Too much water will kill the plant, so it should be watered moderately.
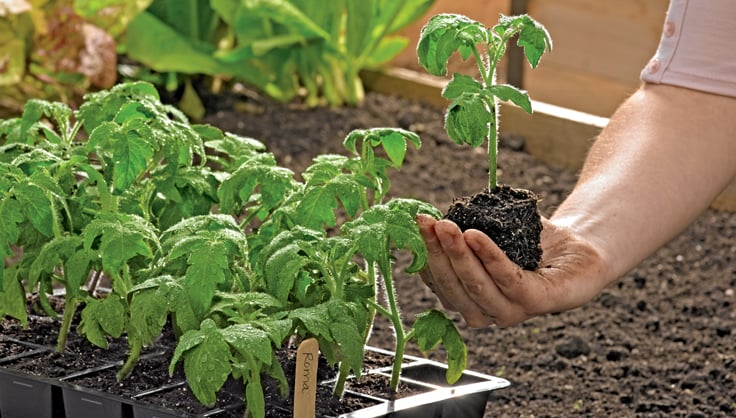
5. Thin The Seedlings
Thinning pumpkin seedlings is an important step to ensure the remaining plants have enough space to grow and receive the necessary nutrients.
Here are some steps to help you thin your pumpkin seedlings, sow pumpkin seeds on the side;
- Wait until the seedlings have developed their first true leaves. These leaves will look different from the initial cotyledon leaves, which are small and round.
- Identify the strongest seedlings. The strongest seedlings will have a healthy, robust stem and a good set of leaves.
- Use scissors or garden shears to snip off the weaker seedlings at the soil level. Be careful not to damage the roots of the remaining seedling.
- Space the remaining seedlings at least 3-4 feet apart to give them enough room to grow. You can also plant the seedlings in hills or mounds to provide more space for the vines to spread out.
- Water the remaining seedlings immediately after thinning to help them recover from any shock or stress.
You can also sow Japanese green pumpkin seeds. Remember, it’s important to thin your pumpkin seedlings to ensure the remaining plants have enough space to grow and receive the necessary nutrients.
6. Pruning The Pumpkin Vines
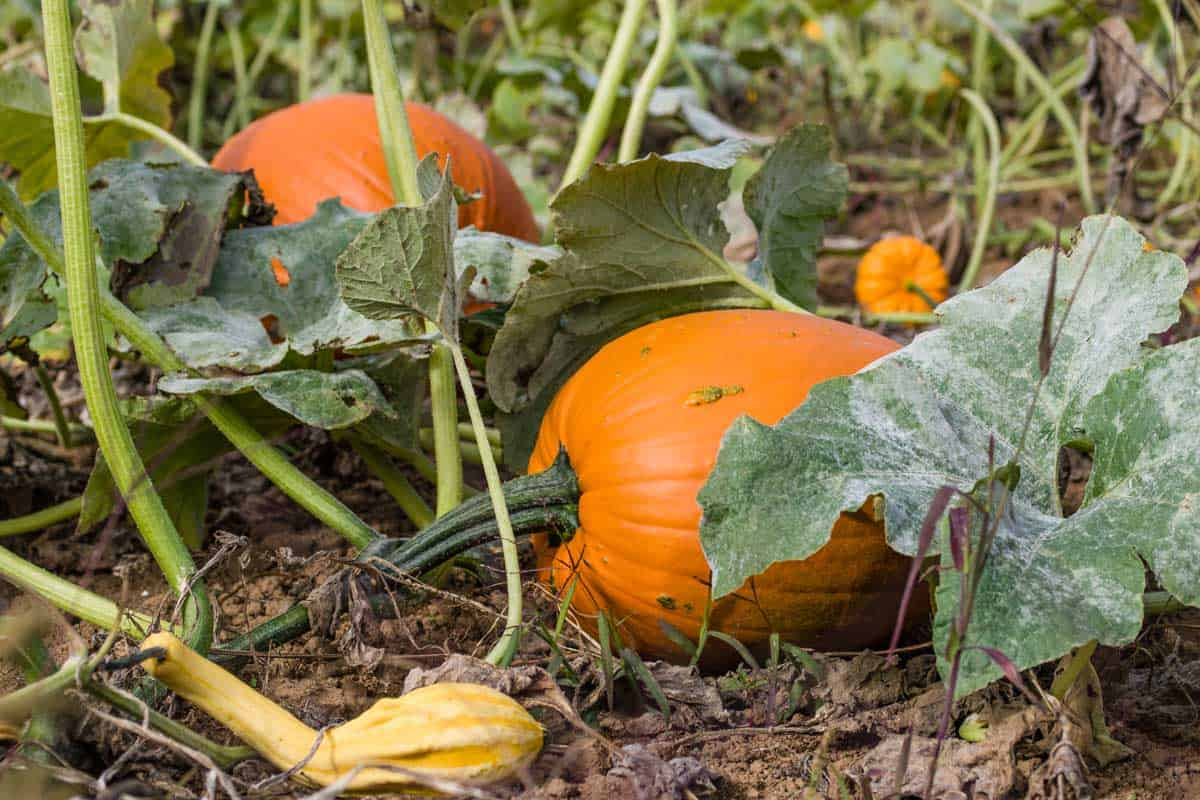
Pruning the pumpkin plant vine is important for several reasons. By pruning, the plant becomes easier to sustain and manage since the vines become less tangled. Over-pruning can stress the plant and reduce its ability to produce fruit.
Wait until the vines have grown to a length of about 10 feet before pruning. Choose 2-3 healthy secondary vines per plant and remove all the others. Don’t remove more than one-third of the plant’s total foliage at one time.
By pruning the vines, the plant can have a better airflow, which is good because it can prevent fungi and other diseases. Pruning also plays a significant role in better fruit production since the energy of the plant will be more directed toward the fruit, resulting in healthier and larger pumpkins.
7. Fertilize The Plant Regularly
Pumpkin plants require a balanced fertilizer with a ratio of 10:10 or 20:20. Work the fertilizer into the soil before planting your pumpkin seeds. This will help ensure that the nutrients are available to the plants as soon as they start growing.
As the pumpkin plants grow, they will require additional fertilization. Apply fertilizer every two to three weeks during the growing season. After applying fertilizer, water the plants to help the nutrients soak into the soil.
Remember, too much fertilizer can burn the roots of the pumpkin plants and reduce their ability to absorb nutrients. Be sure to follow the recommended application rate and avoid fertilizing during hot, dry weather.
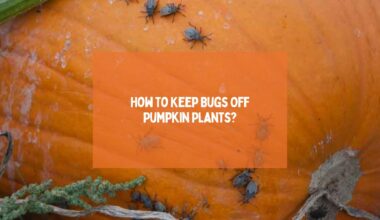
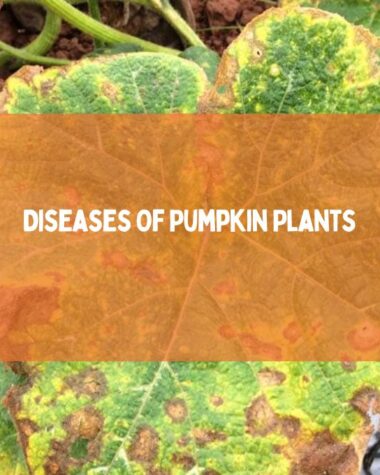
8. Inspect The Plant For Pests and Diseases

Inspect your gourd at least once weekly for any signs of pests and diseases. Look for any damaged stems, leaves, or fruit, and abnormal growth.
Learn to identify common pests and diseases that can affect pumpkin plants, such as squashes, aphids, and cucumber beetles. Look for their eggs, larvae, or adult insects on the leaves or stems.
Common pumpkin diseases that deteriorate the gourd plant are powdery mildew, downy mildew, and black rots. Watch for indications of discoloration, spotting, or powdery growth on the leaves, stems, and fruit.
Address the issues promptly. Treat the plants with an appropriate pesticide or fungicide, following the instructions on the packaging.
Related Reading
- How to Find, Prevent, and Treat Zucchini Plant Problems?
- What Are the Causes of Deformed Cucumbers?
- 12 Ways to Protect Your Tomatoes From Birds That Beyond Netting
Conclusion
Many complications are bound to come, no matter which plants you decide to nurture. Growing a pumpkin is relatively easy to maintain and requires minimum effort to flourish. This is why almost anyone can grow a pumpkin plant in their garden.
They also hold a lot of nutritional value. Adding these to your diet can provide a variety of health benefits. Homegrown pumpkins have a fresher taste and are often more flavorful than store-bought pumpkins.
Thanks for reading!