Growing pumpkins is a fun and rewarding activity, and harvesting pumpkin seeds for planting is a great way to continue the cycle. To get started, remove the seeds from inside the pumpkin and rinse them to remove any pulp or flesh. Once the seeds are clean, spread them out on a layer of paper and allow them to dry overnight.
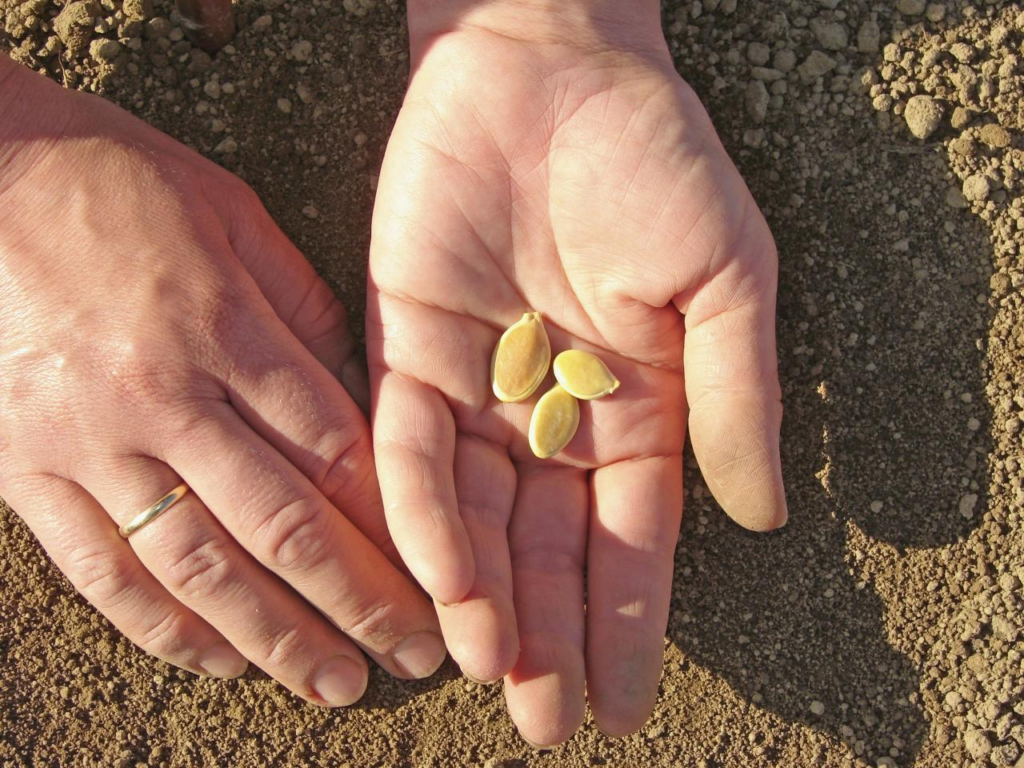
Store the seeds in a cool, dry, and dark place, such as a refrigerator, until you’re ready to plant them. When planting, choose a sunny spot in your garden and plant the seeds about 1 inch deep in well-draining soil. Remember to water them regularly and give them plenty of room to grow.
In this article, you will learn how to harvest pumpkin seeds for planting in eight steps.
Let’s start.
7 Steps to Harvesting Pumpkin Seeds for Planting
The steps to harvest pumpkin seeds for planting are given below:
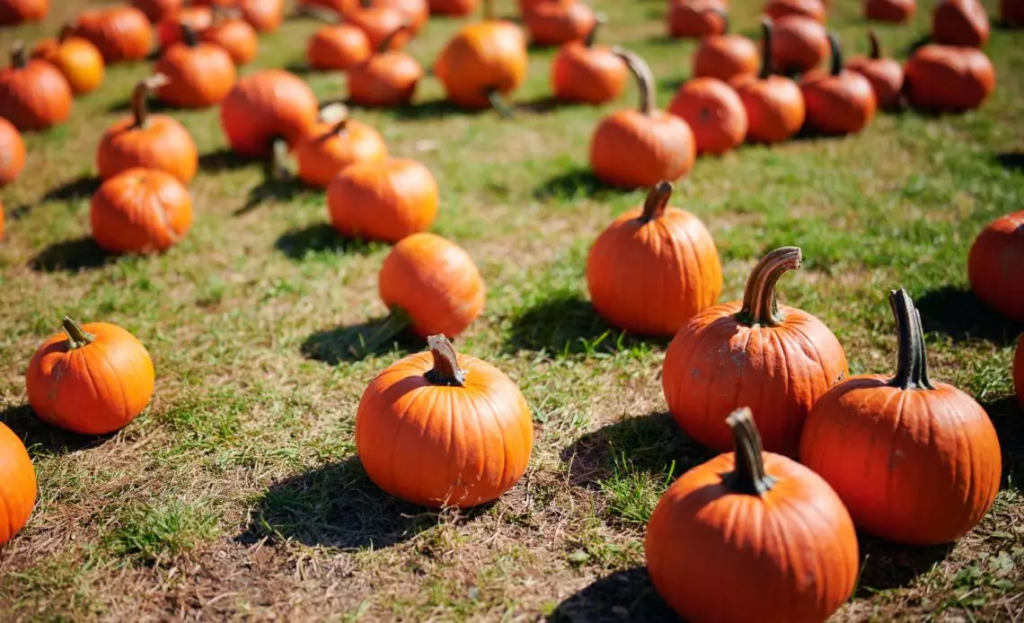
1. Choose A Ripe Pumpkin
A pumpkin is fully ripe when it has a firm rind and is uniformly shaped, unblemished, and heavy for its size. If you’re growing pumpkins in your garden, you can pick the pumpkin when it’s fully colored. although some orange types will continue to ripen after they’re picked.
The ideal time to save seeds is when the pumpkin is 20 days or more past harvest. If you are buying the fruit from a store, make sure to pick a healthy pumpkin that is ripe and ready to eat.
Pumpkins harvested too early might not have good seeds, so keep that in mind if you want to save some seeds to grow next year.
Related Reading
- How To Grow Square Pumpkins?
- How To Grow Red Pumpkins?
- How To Grow Pumpkins In Molds?
- How to Prevent Animals from Eating Your Pumpkins?
2. Cut Open The Pumpkin
To cut open the pumpkin and harvest the seeds, use a sharp, sturdy knife to cut around the top of the pumpkin, then carefully remove the “lid.” Use a large metal spoon to scrape out the seeds and pulp, and place them into a pot.
Rinse the seeds in the pot to remove the pulp, and then spread them out on a layer of paper to dry overnight. Once the seeds are dry, store them in a cool, dry, and dark place until you’re ready to plant them.
Choose a ripe pumpkin that is uniformly shaped and heavy in size, and plant the seeds about 1 inch deep in well-draining soil in a sunny spot in your garden.
3. Scoop Out The Seeds
To scoop out the seeds from the pumpkin, use a large metal spoon to scrape out the seeds and pulp. Be sure to remove as much pulp as possible, as this can cause the seeds to rot.
By following these simple steps, you can ensure that your pumpkin seeds are healthy and that your plants will thrive.
4. Separate The Seeds From The Pulp
To separate the seeds from the pulp, place the seeds and pulp into a pot and rinse them under running water. Use your hands to separate the seeds from the pulp, picking the seeds out of the pulp while running cool water over the mixture.
You can also spread the seeds and pulp out on a sheet of newspaper to dry overnight before separating them. After the seeds are dry, store them in a cool, dry, and dark place until you’re ready to plant them.
5. Soak The Seeds
Soaking pumpkin seeds is an optional step that can help break the seed dormancy period and promote germination. To soak the seeds, place them in warm water (around 40 °C) for 30 minutes. After soaking, spread the seeds out on paper to dry overnight.
You can file the edges of the seeds and soak them in hot water for an hour or two before planting to help seedlings emerge easily from within the hard seed coat.
6. Dry The Seeds
Before drying the seeds, remove any remaining bits of pulp that may be stuck to them. This will help prevent mold from forming during the drying process. Place the seeds in a single layer on a baking sheet, paper towel, or any other flat surface.
Make sure that the seeds are not touching each other to ensure even drying. Let the seeds dry naturally in a warm, dry place. Avoid placing them in direct sunlight, which can cause the seeds to become too dry and brittle. It may take several days for the seeds to dry completely.
Label the container with the pumpkin variety and the date of harvest. The seeds can be stored for several months before planting.
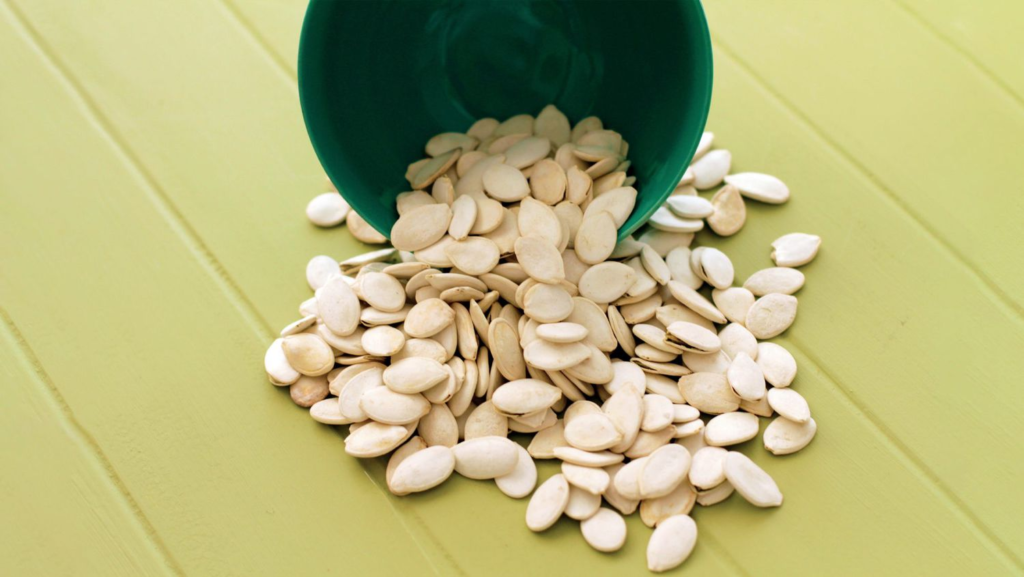
7. Store The Seeds
Select an airtight container, such as a glass jar or plastic bag. Make sure that the container is clean and dry. Once the seeds are completely dry, place them in the container. Be sure to fill the container about 3/4 full, leaving some space for air circulation.
Avoid storing the seeds in a place with high humidity or temperature, as this can reduce their ability to survive. Check the container to make sure that there is no moisture or mold. If you notice any signs of moisture, remove the affected seeds and discard them.
Pumpkin seeds can remain viable for up to a year if stored properly. After that, their abilities start to decline. It’s best to use the seeds within a year for the best germination rates.
Related Reading
- Golden Zucchini Squash: A Nutritious Summer Vegetable
- How To Properly Tomato Support and Tie Tomato Plants (& 5 Common Mistakes)
- Understand Cucumber Pollination Process: How Cucumbers Pollination Works?
- Effective Carrot Rust Fly Control: Tips To Combat Rust Fly Maggots
Conclusion
To harvest pumpkin seeds for planting, start by cutting open the pumpkin and scooping out the seeds and pulp with a large metal spoon. Rinse the seeds in a pot to remove any pulp or flesh, and then spread them out on a layer of wax paper to dry overnight.
Once the seeds are dry, store them in a cool, dry, and dark place until you’re ready to plant them. You can store the seeds in an envelope in the refrigerator.
So, grab a pumpkin and start harvesting those seeds today!