To grow pumpkin indoors, start by choosing the right pumpkin variety, preparing the container, planting the seeds, doing fertilization, and providing the plants with support, light, and warmth. Pumpkins also require pollination to produce fruit.
Growing pumpkins indoors can be a fun and rewarding project, but it requires a bit of planning and preparation.
In this article, I will tell you about the steps to growing pumpkins indoors.
Let’s start.
8 Steps To Grow Pumpkins Indoors
The complete, well-explained steps to grow pumpkin indoors are described below:
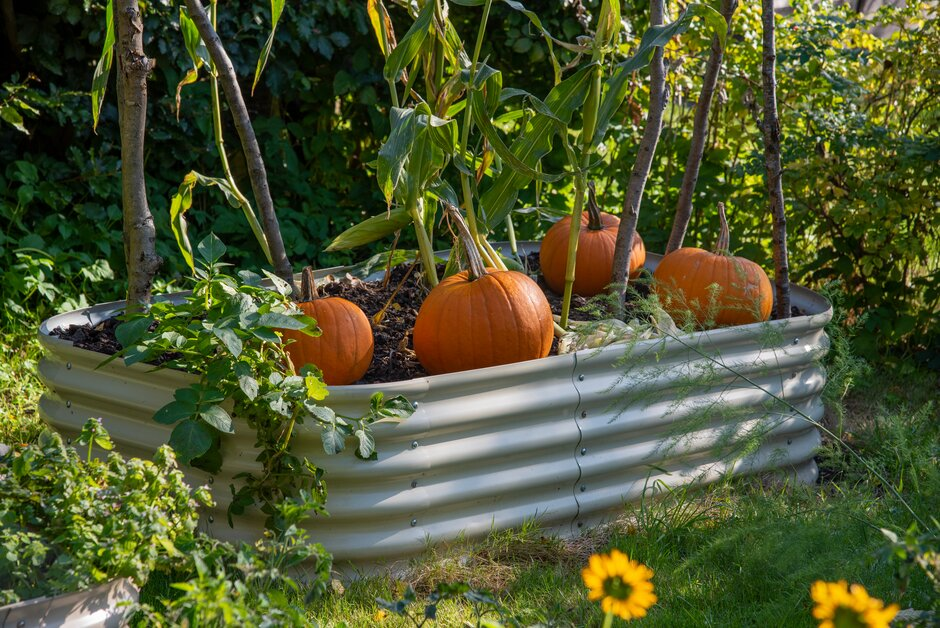
1. Selecting the Right Container Size for Pumpkin Growth
Choosing the right container is an important aspect of growing pumpkins indoors. A large container that is at least 18 inches deep and wide enough to accommodate the pumpkin’s sprawling vines is ideal.
Plastic, ceramic, or wooden containers can all be used for growing pumpkins indoors, but ensure the container is sturdy enough to support the weight of the plant as it grows.
Make sure to fill the container with a well-draining potting mix that is rich in organic matter to provide the plant with the nutrients it needs to thrive.
Related Reading
- How To Grow Pumpkins In Molds?
- How And When To Sow Pumpkin Seeds?
- How to Harvest Pumpkin Seeds for Planting?
- How To Grow Mini Pumpkins From Seeds?
2. Preparing the Soil For Planting Pumpkin Seeds In Containers
It’s important to choose a well-draining potting mix that is rich in organic matter, as this will provide the pumpkin plant with the nutrients it needs to thrive. The potting mix should be free of any diseases or pests that could harm the plant.
It’s important to use a mixture of soil and compost to ensure good drainage. Fill the container with soil up to about 2–3 inches below the rim to allow for watering without overflow.
3. Methods for Properly Planting Seeds in Your Garden
Plant two or three seeds about one inch deep in the center of the container, leaving enough space between them for growth. Water the soil thoroughly after planting to ensure good contact between the soil and the seeds.
As the seeds germinate, thin out the weakest seedlings, leaving only one strong plant in the container. Make sure to keep the soil moist and provide adequate light for the pumpkin plant to grow and thrive.
4. Signs of Overwatering and Underwatering For Pumpkin Plants
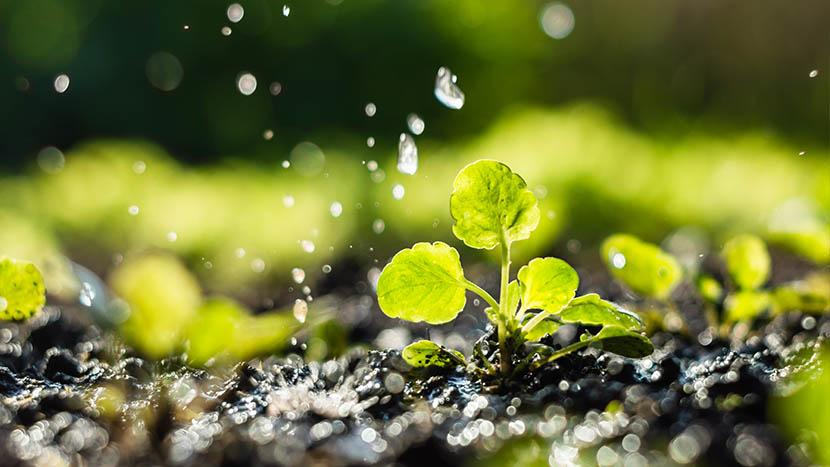
After planting the pumpkin seeds in the container filled with a well-draining potting mix, water the soil thoroughly. It’s important to keep the soil consistently moist but not waterlogged. Overwatering can lead to root rot, while underwatering can cause the seedlings to dry out and die.
Water the pumpkin plant regularly, but only when the soil surface feels dry to the touch. Use water in a spray bottle to avoid disturbing the seeds and seedlings.
Proper watering is essential for pumpkin seeds to germinate and for the plant to grow into a healthy pumpkin vine.
5. Understanding Light and Temperature Needs For Indoor Pumpkins
Pumpkins require a warm and sunny environment to grow and thrive. The ideal temperature range for pumpkin seeds to germinate is between 65 and 85°F (18 and 29°C). Keep the container in a warm spot that receives plenty of sunlight, such as a sunny window.
If natural light is not sufficient, use grow lights to provide additional light. Ensure the light source is placed close enough to the pumpkin plant to allow for proper photosynthesis. It’s also important to provide consistent warmth and avoid exposing the pumpkin plant to sudden temperature fluctuations.
6. Importance of Thinning Seedlings for pumpkins
Once the pumpkin seeds have germinated, it’s important to thin them out to ensure that only the strongest plant remains in the container. When the seedlings have grown to about 2–3 inches in height, remove the weaker ones, leaving only one plant per container.
This will ensure that the remaining plant has enough space, light, and nutrients to grow into a strong and healthy pumpkin vine.
Be careful when thinning the seedlings to avoid disturbing the roots of the remaining plant. Thinning is crucial for successful pumpkin growing indoors, and it increases your harvest yield.
7. Common Fertilizer Mistakes to Avoid in Your Garden
Pumpkins require nutrient-rich soil to grow and produce a bountiful harvest. Using a slow-release fertilizer with balanced nutrients is necessary for growing pumpkins. Fertilize the pumpkin plant about once a month during the growing season.
Avoid over-fertilizing, as this can lead to excessive vegetative growth and poor fruit development. It’s also important to provide the pumpkin plant with organic matter, such as compost or well-rotted manure, to improve soil fertility and structure.
8. Preventing Pests and Diseases in Your Garden
Monitoring for pests and diseases is crucial when growing pumpkins indoors. Even though indoor conditions are generally more controlled and less prone to pests and diseases than outdoor conditions, it’s still important to be vigilant.
Common pests that can affect pumpkin plants include spider mites, aphids, and whiteflies. To prevent pests, keep the area clean and free of debris and weeds, and monitor the plants regularly.
If you do notice pests, treat them with insecticidal soap or neem oil. Also, keep an eye out for signs of disease, such as powdery mildew, and treat promptly with appropriate fungicides.
By monitoring for pests and diseases, you can prevent them from damaging your pumpkin plant and ensure a healthy harvest.
Related Reading
- A Complete Growing Guide for Zucchini Plant Care
- How To Harvest Carrots In Your Garden?
- Can cucumber leaves be eaten? FAQs Answered
- Where Do Aubergines Grow Naturally?
Conclusion
Growing pumpkins indoors can be a rewarding experience. By following the necessary steps, such as choosing the right container, filling it with well-draining soil, planting the seeds, providing adequate water and light, thinning the seedlings, fertilizing, and monitoring for pests and diseases, you can successfully grow pumpkins indoors.
Whether you have limited garden space or simply want to enjoy gardening indoors, growing pumpkins indoors allows you to witness the growth of this iconic homegrown harvest.
Thanks for reading!